What's The Point?
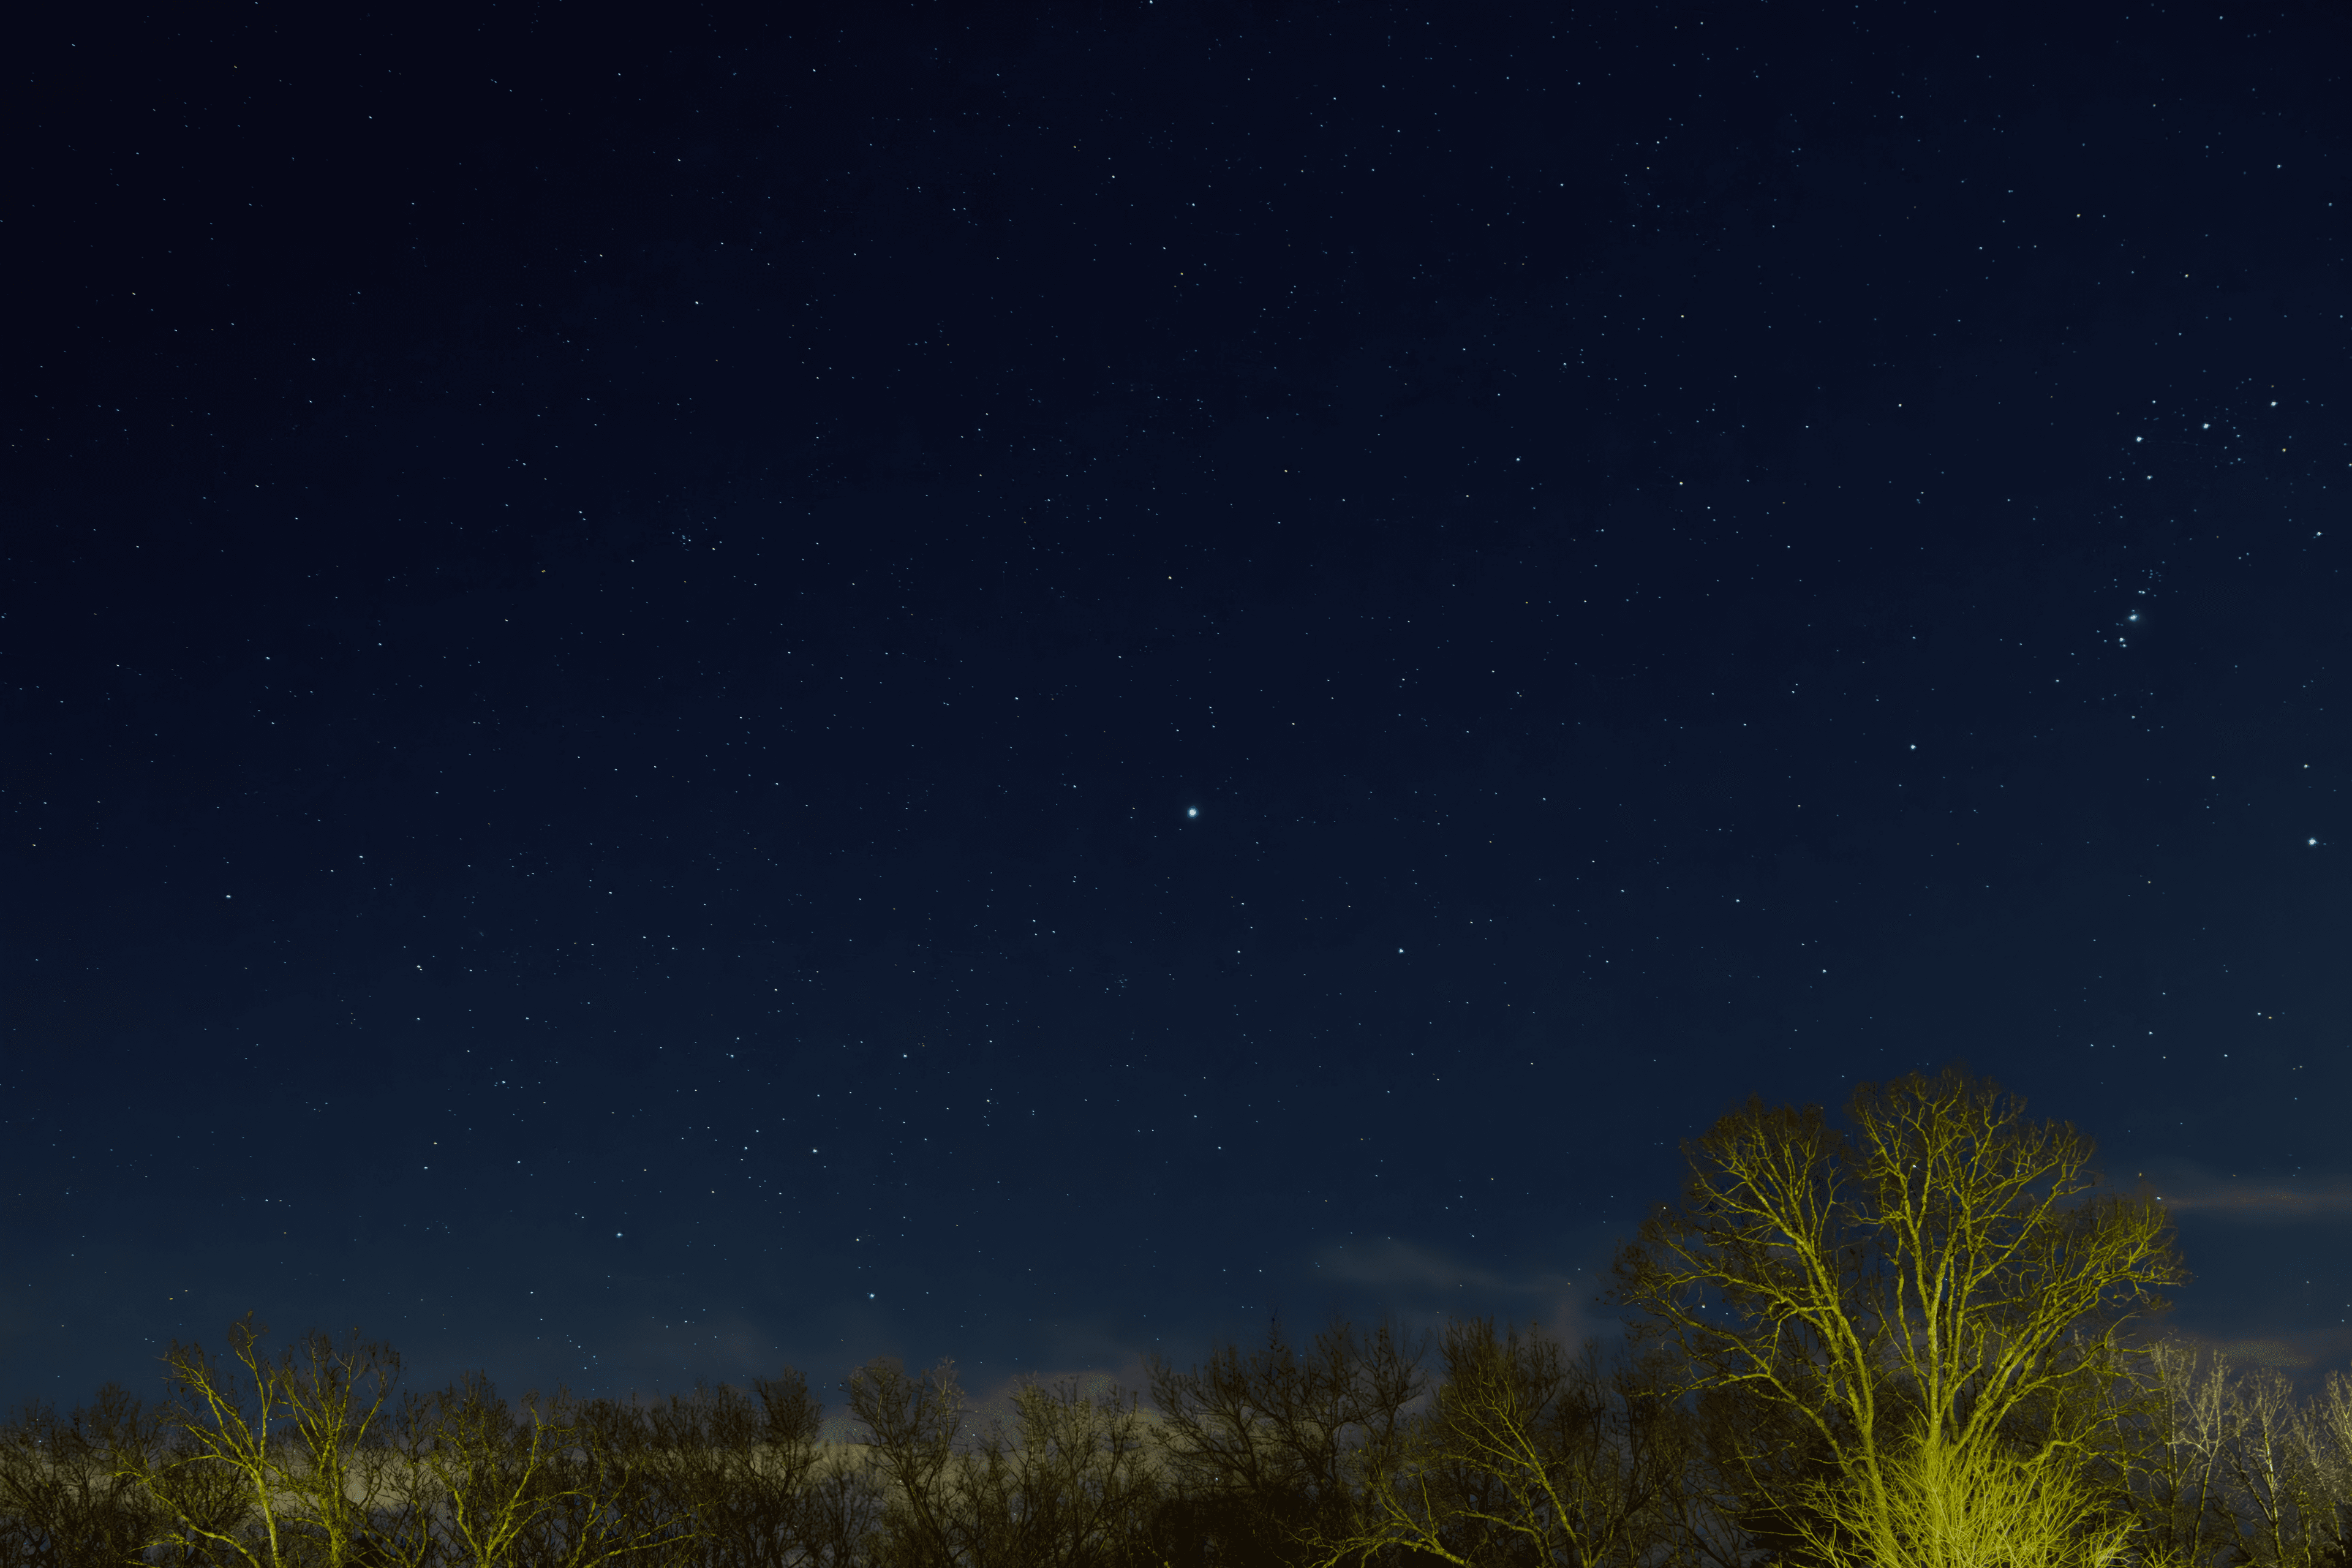
The ATLAS Telescope is a project born out of my love for optical astronomy. During my time at the Green Bank Observatory, one of the first things my peers in astrophysics taught me was just how expensive it can be to get into astrophotography. Using fully integrated “smart telescopes” mounted on large, heavy tripods, they were able to capture high-resolution images of planets like Mars as well as stars like Sirius. As someone without the equipment or budget to purchase it myself, I became fixated on the idea of using my engineering background to make astrophotography more accessible. With the help of four of my friends, we created a fully autonomous star-tracking mount compatible with thousands of DSLR cameras at a fraction of the cost of other all-in-one solutions.
As the Software Lead for the project, I was tasked with building all of our software from scratch, as well as determining the specifications and parts I would need to successfully integrate the software with the wider electrical and mechanical subsystems.
Camera Control
The heart of ATLAS’s star-tracking capabilities resides in its ability to take control of a connected camera and autonomously capture photos for both calibration and observations. This is done through the gphoto2 library, which we chose over other solutions like digiCamControl and CHDK due to its modularity and detailed documentation. Using this library, I was also able to give ATLAS a variety of preset “modes”: specific camera configurations built to optimize imaging of specific astronomical objects.
Plate Solving & Calibration
Initial calibration is handled by a series of methods we’ve called set_capture_mode, take_photo, plate_solver, and reset().
First, we use the gphoto2 library to connect to our ATLAS camera, changing its settings to a specific mode via the set_capture_mode function. Once the connection has been established and the settings are to our liking, we command the camera to take a ten-second exposure via gphoto2. This photo is used for calibration, so it is imperative that during this time, ATLAS is aimed at a portion of the night sky with a healthy number of visible stars (10+).
The actual calibration is handled by our plate-solving algorithm, which works by pulling the RAW calibration image off of the camera’s SD card and converting it into a FITS file. The image is then analyzed by identifying patterns of stars, or asterisms, and comparing them against astronomical reference data to determine the coordinates, in Right Ascension and Declination, at which the original image was taken.
Due to our initial plate-solving algorithm introducing unnecessary latency by way of sending requests back and forth from our ATLAS to the astronomical databases, we decided to take advantage of Astrometry.net’s resources to consolidate our algorithm. As a result, we merely need to provide an appropriate image and query for the returned coordinates, while the asterism cross-referencing is handled autonomously. This reduced our plate-solving time from approximately ten minutes to two minutes and thirty seconds.
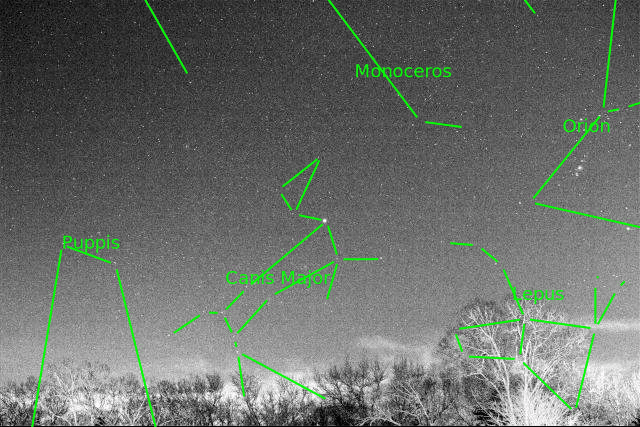
Plate-solved calibration output with celestial star pattern overlays.
Astronomical Object Tracking
Once ATLAS’s coordinates have been determined, the user can request to track any of the twenty million astronomical objects within the SIMBAD database, at which point the ATLAS Telescope will move to the specified location. Upon reaching a predetermined distance in arcminutes from the target, ATLAS will continually move at a speed of approximately 0.25 degrees/minute to remain aligned with Earth’s sidereal motion.
This allows ATLAS to track a wide variety of astronomical targets, including planets like Jupiter and Saturn, stars like Sirius, and deep-sky objects such as the Cat’s Eye Nebula.
Motor Control
Precise control, accurate timing, and support for large loads were our main priorities for our integrated tracking system. Hence, we selected NEMA 23 bipolar stepper motors, which provide the torque and precise positioning necessary to move the telescope assembly.
The pulse and direction terminals of the DM542 drivers are wired to the Raspberry Pi’s 3.3V logic GPIO pins. With the pigpio library leveraging the Pi’s hardware timing to generate precisely timed pulse and direction signals, we were able to reduce timing jitter and excessive CPU load.
Limit switches mounted on either side of the declination motor also prevent the system from moving beyond its mechanical limits and potentially colliding with the camera or telescope assembly.
Challenges & Future Improvements
AC power adapters are used to power the motors since they were the most accessible option for rapid prototyping. For future iterations, I think it would be best to transition to lithium batteries to ensure our system can also be used in remote areas, which are more desirable for astrophotography due to a lack of light pollution.
We’d also like to implement a wireless Bluetooth connection to the Raspberry Pi that allows users to input the stars they want to track and take pictures remotely from their personal device, as opposed to having to respond to a prompt on the Raspberry Pi.
Software & Hardware Requirements
ATLAS GitHub Repo ↗A link to the entire ATLAS codebase can be found in the repository above. The following packages and libraries are required in order to run the star-tracker code:
External Dependencies
- • AstroPy
- • Requests
- • gphoto2
- • Raw2Fits
Python Standard Library
- • pathlib
- • os
- • json
- • time
Hardware Stack
- • Raspberry Pi
- • NEMA 23 Stepper Motors
- • DM542 Motor Drivers
- • Declination Limit Switches